




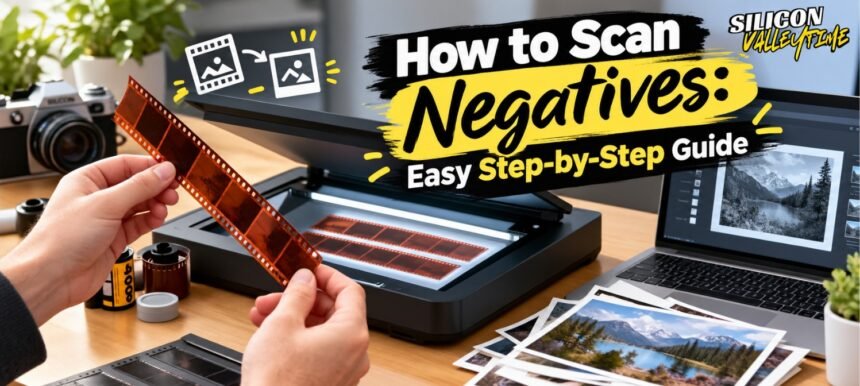

Old film negatives can hold some of your most valuable memories. Family trips, childhood birthdays, weddings, holidays, and everyday moments may still be sitting in a box as tiny strips of film.
The good news is that you do not need a professional studio to bring those memories back to life. With the right scanner, phone setup, or film digitizing service, you can turn negatives into digital photos that are easier to store, edit, and share.
This guide explains how to scan negatives, what equipment you need, how to get better image quality, and which mistakes to avoid.
What Are Film Negatives?
A film negative is the original strip of photographic film where colors and brightness appear reversed. Light areas look dark, while dark areas look light. A scanner or editing software converts this negative image into a normal positive photograph.
Common types include:
- 35mm negatives
- Medium-format negatives
- Black-and-white negatives
- Color film negatives
- Film slides and transparencies
If you want to understand the wider history and technology behind photography, the Wikipedia article on photographic film provides useful background.
Why Is Scanning Negatives Important?
Scanning negatives is important because film can become damaged as it gets older. Dust, fingerprints, moisture, scratches, and poor storage can affect the image.
Creating digital copies gives you several benefits:
- Protects old memories
- Makes photos easier to share
- Allows basic color correction
- Provides a backup against physical damage
- Makes printing old photographs easier
- Lets you organize photos on a computer or cloud service
For example, imagine finding a box of negatives from a family vacation taken 20 years ago. Instead of keeping the strips hidden in a drawer, you can scan them, organize the images by year, and share them with family members.
Key Benefits of Scanning Film Negatives
1. Preserve Old Memories
Film does not last forever. Properly scanned digital copies can be backed up to multiple locations.
2. Improve Accessibility
Digital photos can be viewed on phones, computers, tablets, and televisions without needing a film viewer.
3. Edit and Restore Photos
After scanning, you can crop images, correct colors, remove small dust spots, and make other adjustments.
4. Make New Prints
A good scan can be used to create modern photo prints, albums, cards, or gifts.
5. Share Photos Easily
Digital files can be sent through email, messaging apps, social media, or cloud storage.
What Do You Need to Scan Negatives?
Before learning how to scan negatives, prepare the right equipment.
Depending on your method, you may need:
- Film or negative scanner
- Flatbed scanner with a film adapter
- Smartphone with a camera
- Light source or light box
- Film holder
- Microfiber cloth
- Computer or smartphone
- Photo editing software
- Clean storage containers
The best method depends on the type of negative, desired quality, budget, and number of photos you have.
How to Scan Negatives: Step-by-Step Guide
Step 1: Identify Your Negatives
First, check what type of film you have.
Look for:
- 35mm strips
- Medium-format film
- Black-and-white film
- Color negatives
- Slides
Knowing the format helps you choose the correct scanner or film holder.
Step 2: Clean the Negatives Carefully
Dust is one of the biggest problems when scanning film.
Hold the negative by its edges and gently remove loose dust with an appropriate air blower or soft cleaning tool.
Avoid touching the image area with your fingers. Fingerprints can leave oil and marks that become very visible after scanning.
Step 3: Choose Your Scanning Method
There are several ways to digitize negatives.
Method 1: Use a Dedicated Film Scanner
A dedicated film scanner is designed specifically for negatives and slides.
Place the film into the correct holder, insert it into the scanner, and open the scanning software.
Choose the appropriate film type and resolution before starting the scan.
Method 2: Use a Flatbed Scanner
Some flatbed scanners include a transparency or film-scanning function.
These models can be useful if you have both negatives and regular photographs to digitize.
However, make sure the scanner actually supports film scanning. A normal document scanner cannot simply scan a negative and produce a correct photo.
Method 3: Scan Negatives With a Smartphone
You can also use a smartphone camera.
Place the negative over an evenly lit white or bright background, keep the camera parallel to the film, and take a high-resolution photograph.
You will then need to invert the negative image using suitable photo-editing software or a dedicated film-scanning app.
This method can be convenient, especially if you only have a few negatives.
Step 4: Set the Correct Resolution
Resolution affects how much detail your digital image contains.
For negatives that you plan to print or preserve carefully, a higher scanning resolution is generally useful.
Common settings may include:
- 1200 DPI: Basic digitization
- 2400 DPI: Good balance for many home projects
- 3200–4800 DPI: Useful when capturing more detail from small film
Higher resolution also creates larger files, so consider how you plan to store them.
Step 5: Preview the Image
Before scanning the entire film strip, create a preview.
Check:
- Framing
- Orientation
- Focus
- Dust
- Exposure
- Color balance
A quick preview can save you from scanning an entire collection incorrectly.
Step 6: Scan the Negative
Once the settings look correct, scan the film.
Try not to move the negative during the process. Keep the scanner glass and film holder clean to reduce unwanted spots.
For important negatives, consider saving a high-quality master file before making smaller versions for everyday use.
Step 7: Convert the Negative Into a Positive Image
Color negatives need to be inverted so that the final image looks normal.
Many scanning programs can perform this automatically.
If your software does not, you can use image-editing software to invert the image and then adjust:
- Brightness
- Contrast
- White balance
- Color
- Shadows
- Highlights
Step 8: Remove Dust and Minor Imperfections
After scanning, inspect the image at a larger size.
Small dust particles can often be removed with a healing or clone tool.
Do not over-edit an old photograph. Some grain and minor film characteristics are natural and can be part of the original image.
Step 9: Save and Organize Your Files
Give your files useful names instead of leaving them with generic scanner numbers.
For example:
1998-Family-Holiday-01.jpg
You can organize them into folders by:
- Year
- Event
- Family member
- Location
- Film roll
Keep at least one backup in another location.
Tips for Better Negative Scans
For the best results, follow these simple practices:
- Keep film and scanner glass clean
- Handle negatives by the edges
- Use a stable surface
- Avoid harsh reflections
- Scan at a suitable resolution
- Keep original high-quality files
- Back up your digital collection
- Avoid excessive sharpening
- Check colors before exporting
- Scan important negatives more than once if necessary
Should You Scan Negatives Yourself or Use a Service?
The answer depends on your project.
DIY scanning makes sense when you have equipment, enjoy the process, or have a large collection that you want to work through gradually.
A professional scanning service may be more convenient when you have hundreds of negatives or need high-quality archival scans without purchasing equipment.
Before choosing a service, check its supported film formats, resolution options, file formats, pricing, turnaround time, and sample scans.
FAQs About How to Scan Negatives
Can I scan negatives with a regular scanner?
Usually, no. A standard document scanner is not designed to properly capture photographic negatives. You generally need a dedicated film scanner or a flatbed scanner with a transparency adapter.
What is the best resolution for scanning negatives?
For many home projects, 2400 DPI or higher can provide a useful balance between image detail and file size. Higher resolutions may be helpful when you want to make larger prints or preserve additional detail.
Can I scan negatives without a scanner?
Yes. A smartphone camera can digitize negatives when combined with an evenly lit background and appropriate inversion or film-scanning software. The final quality depends heavily on lighting, camera quality, alignment, and editing.
How do I scan old 35mm negatives?
Clean the film carefully, place it into a compatible film holder, select the correct 35mm negative setting, preview the image, choose an appropriate resolution, and scan it. Afterward, correct the colors and save the finished digital image.
Should I scan negatives as JPEG or TIFF?
JPEG files are convenient and relatively small, making them useful for everyday sharing. TIFF files preserve more editing information and are often preferred for archival or professional workflows when storage space is available.
Can damaged negatives still be scanned?
Often, yes. Scratches, dust, fading, and other problems do not always prevent scanning. However, severely damaged film may require professional restoration or specialized scanning equipment.
How should I store scanned negative files?
Keep at least two copies in separate locations. You can store one copy on your computer or external drive and another on a reliable cloud or backup system.
Conclusion
Learning how to scan negatives is a practical way to protect photographs that might otherwise remain forgotten in storage. Whether you use a dedicated film scanner, a compatible flatbed scanner, or a smartphone, the basic process is straightforward.
Start by identifying your film, cleaning it carefully, choosing the right scanning method, and selecting a suitable resolution. After scanning, invert and adjust the image, then save the original files and create backups.
If you have a box of old negatives at home, start with a few test images. Once you find settings that produce good results, you can gradually build a digital archive of your favorite memories.